
A couple of weeks ago I had a mini meltdown when I thought I had lost a new framelit after only having used the set once, the worst part was I wasn't even exactly sure what I was missing!
Our wonderful bundles come with a package of Dies to make easy cutting of our stamped images, likewise there are layering circles, squares etc. We receive our dies in sturdy packaging that provides both storage and details of the number of dies:


I used a strip of magnetic tape for the Bold Butterfly Dies rather than a sheet as there weren't any tiny Dies, it worked a treat!
Thanks for visiting today, I hope you enjoyed viewing my storage solution. I would love to update you when I create a post! If you would like to receive an email from me when I do Click Here. You can also subscribe for my newsletter for Stampin' Up news, updates and Sales.


BONUS DAYS in July! for every $90AUD you spend between July 7 and July 31 you will receive a $9 coupon to redeem in August.

When shopping remember to use the current Hostess code displayed at the top of my blog at the check out and you will be eligible for a Thank You gift for for shopping with me - Learn more here - be sure to click YES that you allow me as your demonstrator to contact you in your account settings otherwise I won't be able to forward your Thank You gift.
Our wonderful bundles come with a package of Dies to make easy cutting of our stamped images, likewise there are layering circles, squares etc. We receive our dies in sturdy packaging that provides both storage and details of the number of dies:

I find that the double sided tape on the card becomes a bit tattered when I remove the dies, especially when I use them frequently, this annoys me so I find that I end up storing the Dies like this:

Whilst this works perfectly well, it was also my undoing when I left a framelit on my workstation, luckily I was making a project the next day, I thought I was going mad thinking there was another swirly die or was there only 2 and it was a flower I was missing! But how could I be sure, the packaging only provides the total number of Dies, what exactly was I missing? The only way to be sure what to check the catalogue or view the framelits online - and oh yes I was missing a swirly!
So to avoid this occuring again I came up with a solution that is working well for me. I printed the name of the Framelits as well as the quantity, item number and coordinating stamp set onto a sheet of A4 paper, then positioned the framelits onto the paper and with the aid of a clear plastic folder flipped them over so that I could copy the details as well as the images of the framelits and printed them!

Then I have trimmed the paper and placed a magnetic sheet (or tape depending on the size of the dies) behind the paper and popped into a cello bag. Now I can see at a glance which die is missing when I pack up the set, no more leaving these little guys at my work station :)
This Die storage can be put in a box, back in the plastic folder or wil also fit within the Stamp Set cover so if they are specific to the set they can be stored with the stamps :)

Now all that's left is for me to do this will all my dies! Here's a couple more that I have completed.

I used a strip of magnetic tape for the Bold Butterfly Dies rather than a sheet as there weren't any tiny Dies, it worked a treat!
Thanks for visiting today, I hope you enjoyed viewing my storage solution. I would love to update you when I create a post! If you would like to receive an email from me when I do Click Here. You can also subscribe for my newsletter for Stampin' Up news, updates and Sales.
But wait there is more exciting news!
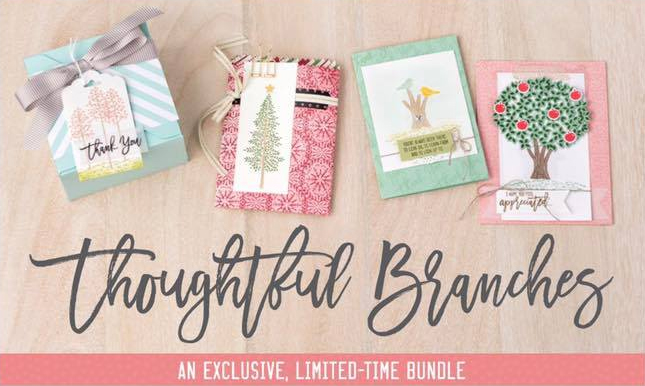
This amazing bundle will be available to purchase in August... but if you can't wait and would like to order it now you can! Here's how:
By joining my team and getting the Stampin' Up!® Starter kit you can add this stunning bundle to your starter kit right away! The starter kit is $169 and allows you to order $235 of ANY current Stampin' Up!® product including this special limited -time bundle. So if you can't wait for August.... I would LOVE to welcome you to my team - Ink Obsession. JOIN NOW
When shopping remember to use the current Hostess code displayed at the top of my blog at the check out and you will be eligible for a Thank You gift for for shopping with me - Learn more here - be sure to click YES that you allow me as your demonstrator to contact you in your account settings otherwise I won't be able to forward your Thank You gift.
Such a clever idea Sue!!
ReplyDeleteThanks Kylie :)
DeleteBrilliant idea to have a picture of the dies on the paper Sue!!!xoxo
ReplyDeleteCheers Gail, now if I am missing something I know what I am looking for!
DeleteWhat a clever idea! I use magnetic sheets, but this is wizard, and so is using strips too! TFS xxx
ReplyDeleteYou're welcome Lesley :) xxx
DeleteWow! Love this idea! So very clever! What size cello bags do you use? Thanks so much for sharing your great tip!
ReplyDeleteFantastic idea Sue! Off to sort mine out now!
ReplyDelete