Crazy Crafters Blog Hop October 2015 - Fun Folds


Welcome to the Crazy Crafters Blog Hop for October. This month we are excited to show off some amazing fun folds. We hope you find great inspiration from our projects.

I love Fun Folds - don't be put off by thinking that they are difficult, a lot of the styles are quite simple and give lots of "bang" with not much effort at all.


This is an example of a Centre Step Card - 2 cuts and 4 folds is all it takes!


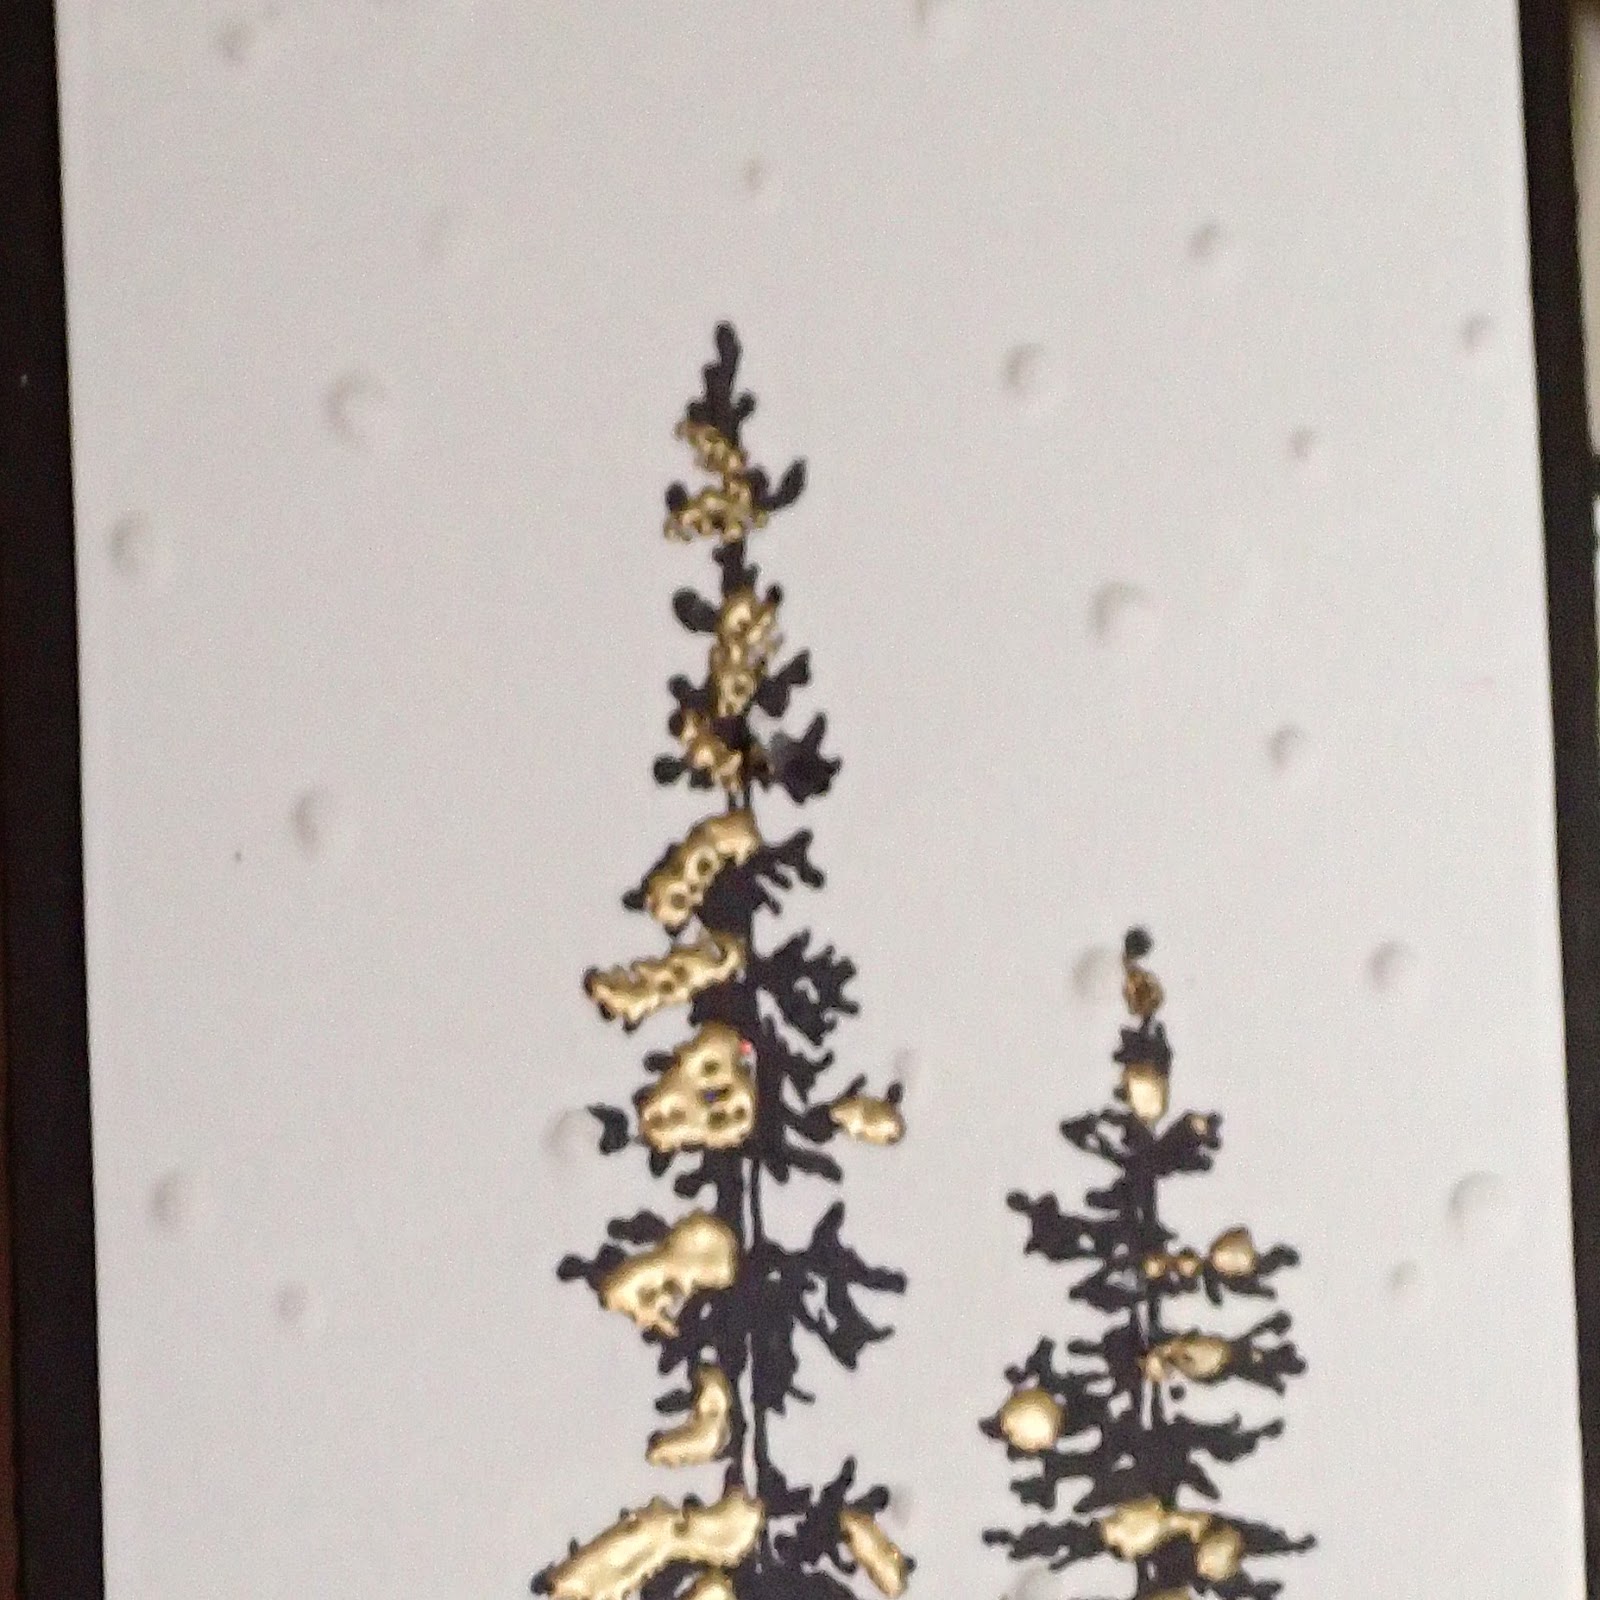
I thought a step card would be perfect to showcase the lovely trees from the Wonderland Stamp set in the centre of the "step".


I added texture by placing the top of the stamped image in the Softly falling TIEF, using the area that only has minimal snowfall.  the image still looked plain compared to the rest of the card, so I added some gold embossing to the trees.


I also decorated the inside of the card by embossing another of the stamps and placing in opposite corners to bring all the elements of the card together.


Note to self:  I mistakenly purchased the Winter Wonderland Vellum stack instead of the DSP, so I have cut the Vellum and glued to cardstock for the side panels of the card - it worked!

Now this card looks like a normal card using the Wonderous Wreath Bundle.......


Until you open it!


How adorable is the variation of an Easel Card, but wait there is more.....


Notice the window is now lit up - that's right, you can pop a battery or rechargeable tea light behind the image (which is why I made the window), I found battery lights at BigW & Ikea, and then found some very reasonably priced rechargeable lights at Bunnings; below are some close ups of this card


This Easel Card is your basic card with a diagonal line scored for the twist instead of the straight line; I found fantastic instructions here.  The hardest thing for me was the bows (I am bow challenged, I can't explain it!).


You may just be starting the Blog Hop here at MissPinksCraftSpot-Sue Vine or may have come from the person previous to me in the list - if you get off track at any time the full line up below will help you to move along from blog to blog to see all the projects.

Other blogs to view:


Thanks for joining us today, hope you have gained some inspiration, if you have time please feel free to leave a comment - I love to reading your positive comments :)
For those that live in Australia - you can go shopping for all of your supplies to make this card at my online store. Just click on the pictures below to add them to your shopping cart. If you use the Hostess code displayed at the top of my blog when you check out, any order with a minimum spend of $50 will receive a sample pack of paper as a Thank You for shopping with me.

Comments

  1. Two so different cards, yet both so stunning. A couple of wonderful ideas for Christmas with that extra bit of "wow"!

    ReplyDelete
  2. You have outdone yourself Sue, I love the Centre Step Card it is awesome and your second card is great as well - you have done an excellent job!!!!!! Well Done! Angexxoo

    ReplyDelete
  3. Oooooo love both cards! Thanks for the encouragement to try the first card fold, I've never been able to get it right!

    ReplyDelete
  4. Both cards are beautiful. I have done easel cards but I haven't tried a twisted one yet. I love how you have made a lumiere out of it. Great idea.

    ReplyDelete
  5. WOW Sue, both cards are fantastic. That vellum is lovely :)

    ReplyDelete

Post a Comment

Thanks for taking the time to write a comment - you have made my day!

Popular posts from this blog

Fancy Folds Stampers Showcase - Hues of Happiness Circle Easel Card

Hello there crafters! You are going to love today's Stamper Showcase Blog Hop - we are all featuring FUN FOLDS, I just love a fun fold, I should really do more of them! I decided to a Circle Easel Card, it's a smaller card, but I think you will agree is just super cute, and with the Hues of Happiness DSP is just Gorgeous! This card is a relatively simple for a fun fold and comes together very quickly - I think I spent more time doing the floral arrangement than the actual fun fold itself. I took advantage of being able to die cut images directly from the Hues of Happiness DSP - I love it when we can do this with DSP, and aren't the flowers just stunning! I took 3 different flowers and some foliage and arranged to fit within the Basic White Circle cut from the largest circle die in Layering Circles Dies set, and the largest scallop die is used for the coloured section of the card. To create the card base you need to fold a piece of card stock and positon the largest die slig...

Thank you for everything Hues of Happiness

Hello crafty friends, I'm using one of my favourite layouts today with the simply gorgeous Hues of Happiness DSP . I decided to make the card using Pool Party cardstock to complement the blue flowers in a bed of purples, I think it turned out lovely. I added detail to the card front by using the Scalloped edge from the Scalloped Contours Dies , and heat embossed a sentiment in silver from the Color & Contour stamp set .  To finish I added a touch of bling with Rhinestone  Basic Jewels . Thanks for visiting today, I hope you enjoyed viewing my project. Stay tuned for more inspiration and tips this month. I’ve listed the products I used below, just click on the picture and be taken directly to the product.  I truly appreciate your support, it inspires me to keep crafting and helps to keep my blog and YouTube channel running. If you live in Australia and don't already have a Demonstrator I'd love to be yours.  Hues of Happiness DSP Scalloped Contour Dies   Colo...

ESAD Holiday Catalogue Fancy Folds & 3D Projects

Welcome to the ESAD Holiday Catalogue Fancy Folds & 3D project Blog Hop. We're so excited to share our creations with you and we're certain that you will find great tips and inspiration from all our creations. The full lineup below will help you move along the hop, so grab a cuppa and enjoy! I've created a project using one of my favourite fun folds - a "z-fold", using the Snowflakes Sentiments Bundle The thinlits give the card lots to detail, and did take a bit of time to put together, but hey if I'm honest I overthink the the placement of the swirls and snowflake sentiments like 3 - 4 times before I stick them down, hahaha!, but I must say every minute was worth it, I am really happy with the finished card. Perfect Plum made the perfect companion for Soft Sky and Marina Mist and I also designed the height of the card so that when it folds flat it will fit in a normal C6 envelope Thanks so much for stopping by. I hop...

Crazy Crafters Blog Hop January 2016

Welcome to the Crazy Crafters January Blog Hop, I can't believe that Connie Stewart is our special guest this month!    That's right, this month Connie Stewart is joining us! I made contact with Connie about 9 mths ago after seeing one of her 2.0 Flash Cards tutorials, and the rest is history - I am now part of Crazy Crafters and feeling very honoured that Connie has joined us for our January blog Hop.  To celebrate this, I have decided to show case the Sale-A-Bration stamp set "What I Love", as it is very similar to the stamp set that started me on my Stampin Up! journey. I just adore both the 3 step flowers and the sentiments in this set! I have also stamped the inside of the card I have also made a 2nd project so show that you can also create your own DSP using this lovely set, this time a special "thank you" box It is specially designed to fit 12 tea lights I hope you have found inspiration from my pro...

Crazy Crafters Blog Hop | Special Guest France Martin

Welcome to the Crazy Crafters Blog Hop, this month we have France Martin or "Frenchie" as you may know of her joining us as special guest.   When scrolling through Frenchie's blog and You Tube tutorials in noticed that Fun Fold cards popped up from time to time, I love fun folds! Now I knew what I would CASE, the problem though...... which style?  I decided to take the challenge of a Z-fold card as I hadn't done one of these before, below is Frenchie's card: Rather than butterflys, I opted to showcase the gorgeous new Falling Flowers  Bundle  from the 2016-2017 Catalogue to decorate my card I procrastinated for quite some time, then just went free for all stamping in Basic black and die cutting the flowers, I water coloured the images using an Aqua Painter then laid them on the diagonal edges and worked on the arrangement,  and oh my!... I am so happy with the result!  H ere is my card I used the full height and wi...